Toyota Land Cruiser
New body shell and right hand drive conversion for a Toyota Land Cruiser

New body shell and right hand drive conversion for a Toyota Land Cruiser
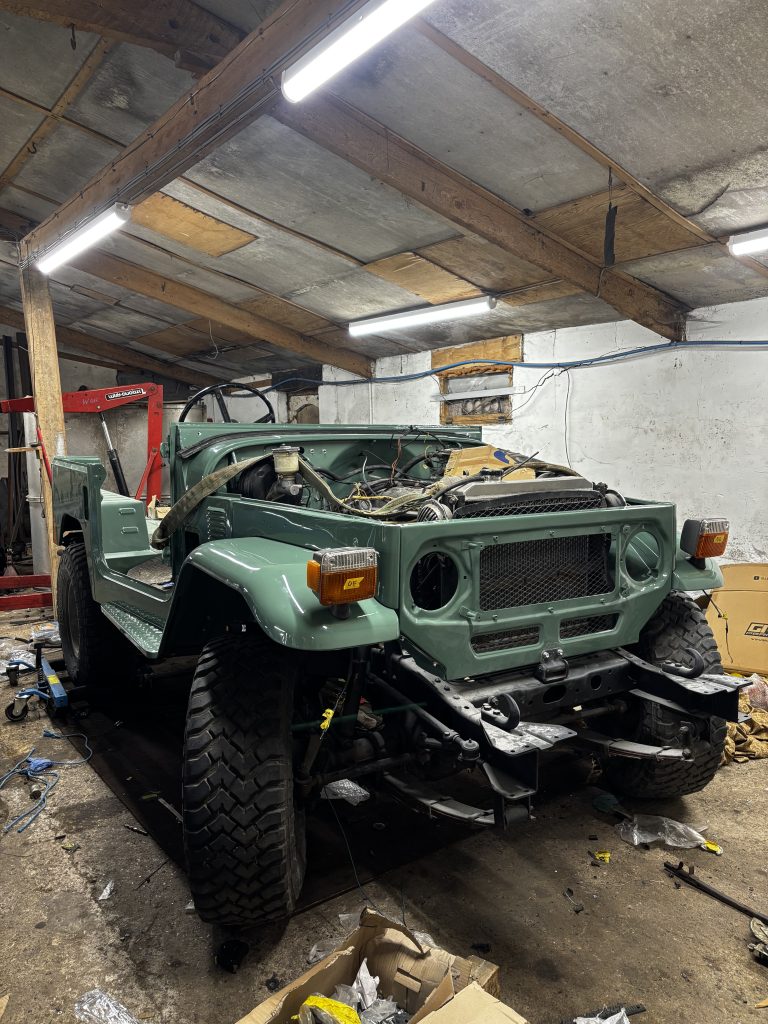
This 40-series Land Cruiser was bought us in need of some serious care, and we decided a whole new body shell was required to get the car back to where it should be.
While it’s sometimes possible to repair bodywork and respray it, in this case the owners wanted a new shell. This is often the best solution if the body work damage is extensive, but it can be expensive because it is such an extreme repair.
The owners also wanted it converted from an existing left hand drive set-up to the standard UK right hand drive. Drive conversions are not small jobs, they take a lot of changes in the bodywork and modifications to internal components. Doing it at the same as a body shell swap was a great idea, meaning work didn’t have to be done twice.
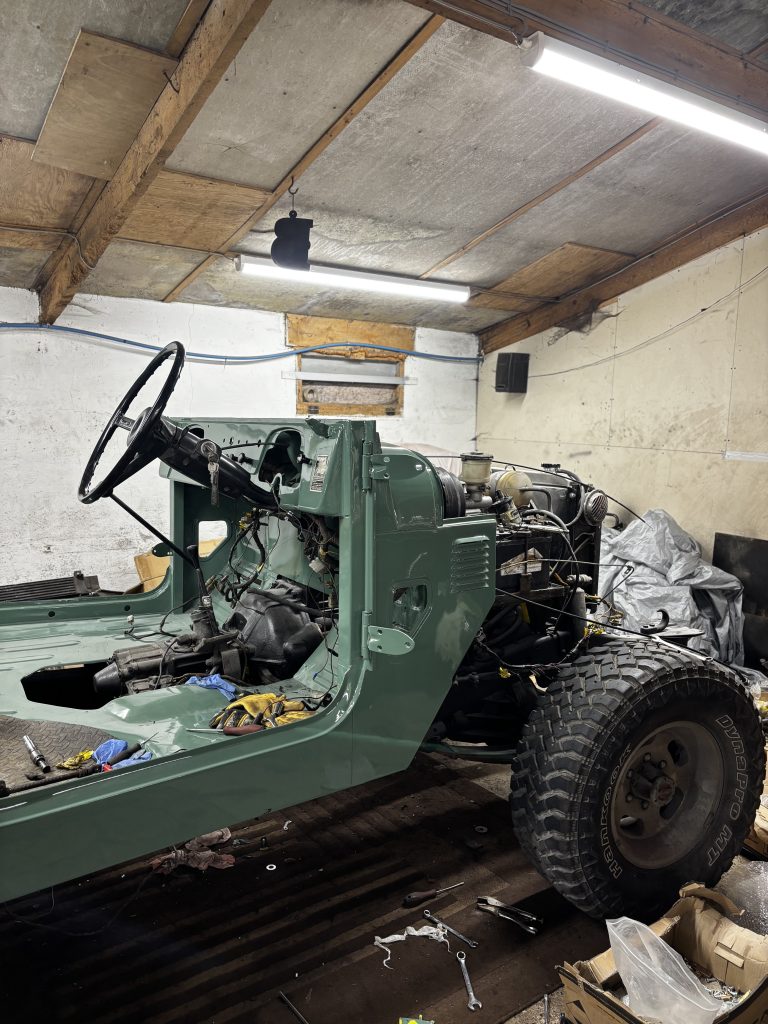
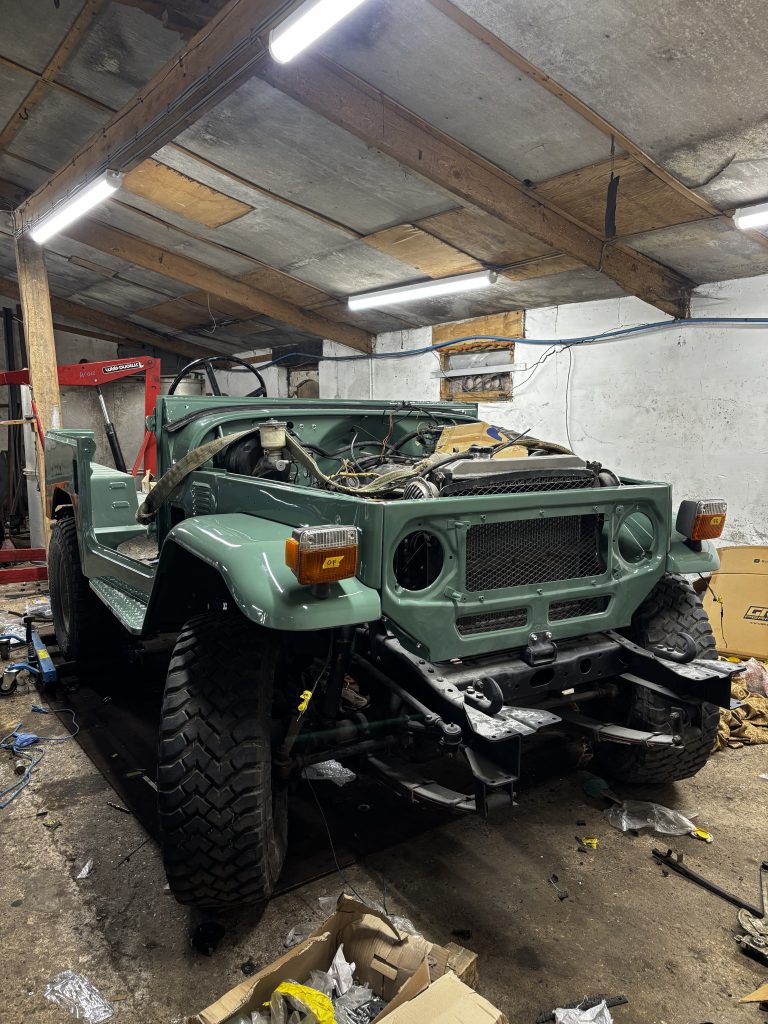
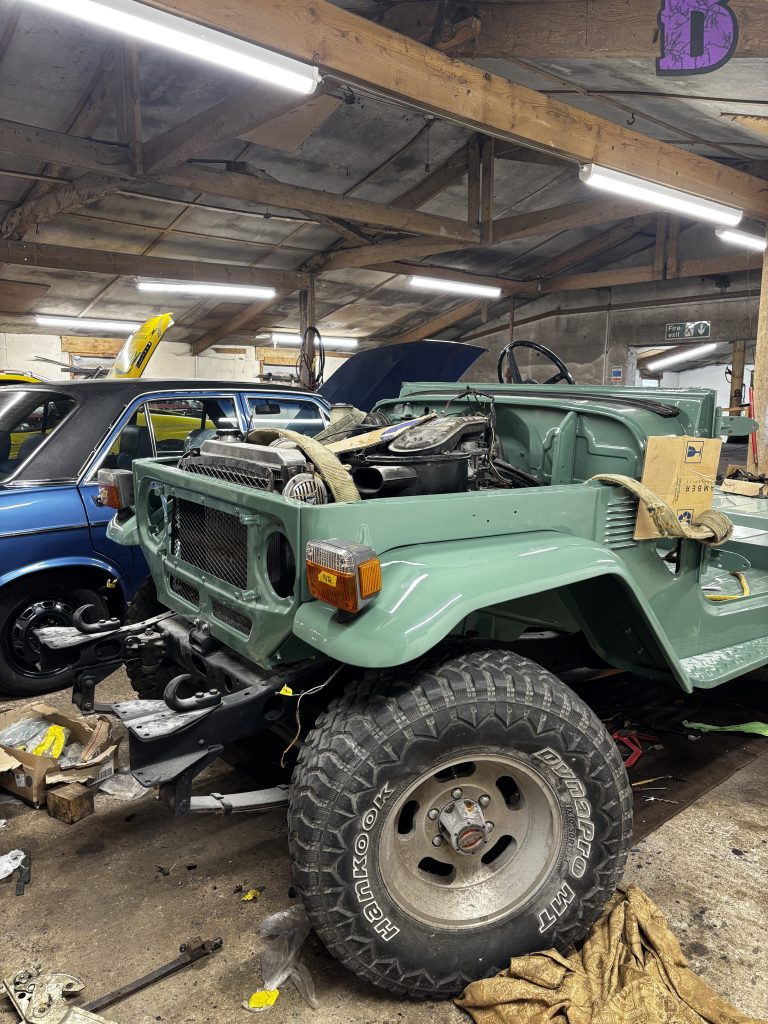
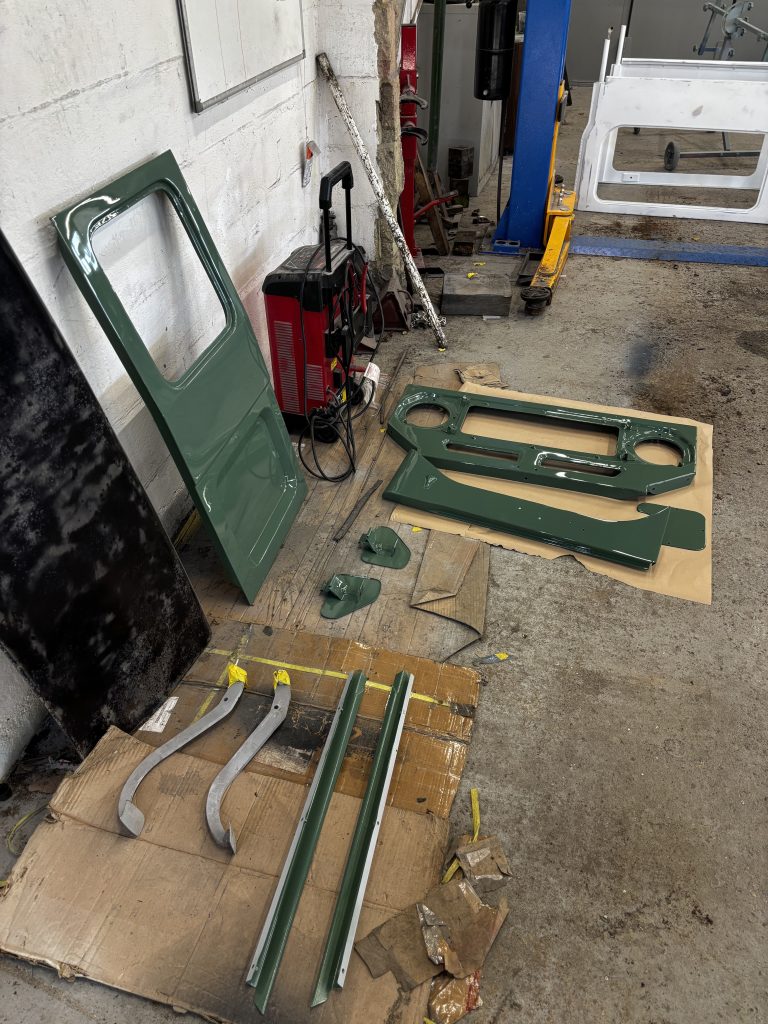
The first step with this car was a complete strip down. As we were replacing the shell, the old one had to come off, and that meant a full strip down. The cab and tub were separated so we could work on them separately, while every bolt-on panel was also taken off including the doors, bonnet, tailgate, front grille, front valance, side steps and running boards.
The repairs we made to this car fell into two broad steps, converting it over to a right hand drive and then the bodywork..
This Land Cruiser was delivered to us as a left-hand drive, with the steering wheel and column on the left-hand side of the vehicle. Commonly seen in mainland Europe and America, this is not ideal for driving in the UK, but the owners had avoided changeover until now because it is such a big job.
To convert, we had to swap the position of the steering wheel and the brake master cylinder within the new shell.
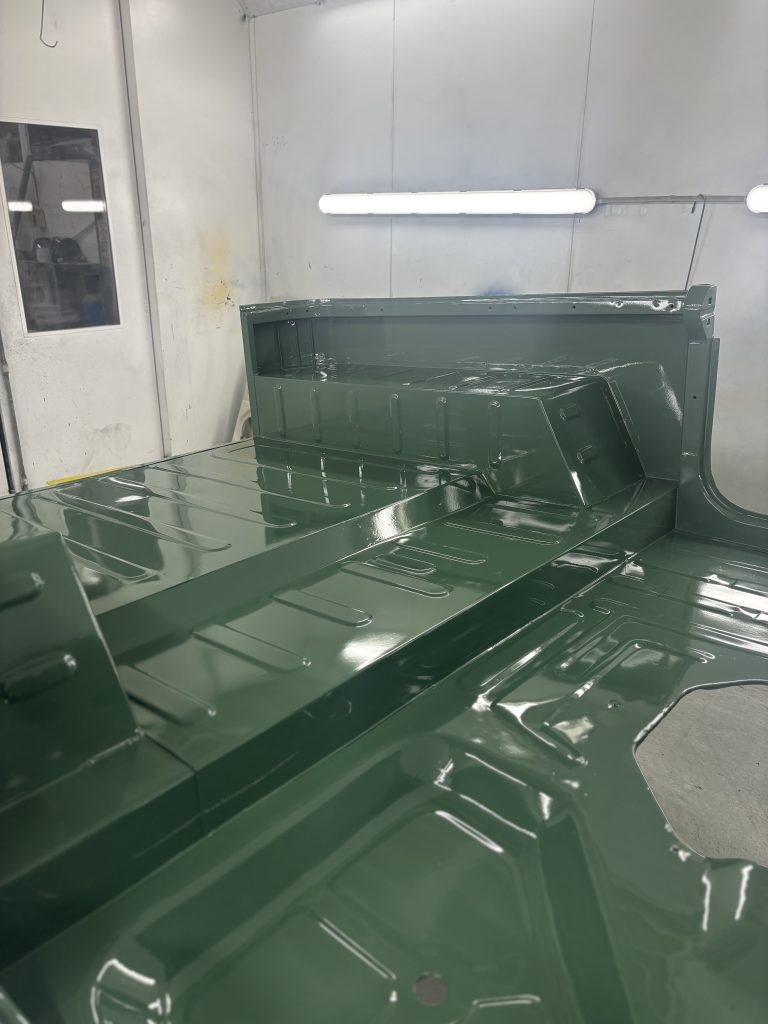
Mistakes made with painting leave your car body at immediate risk of rust or damage, so we took plenty of time to fully prep the body of the car, then paint it.
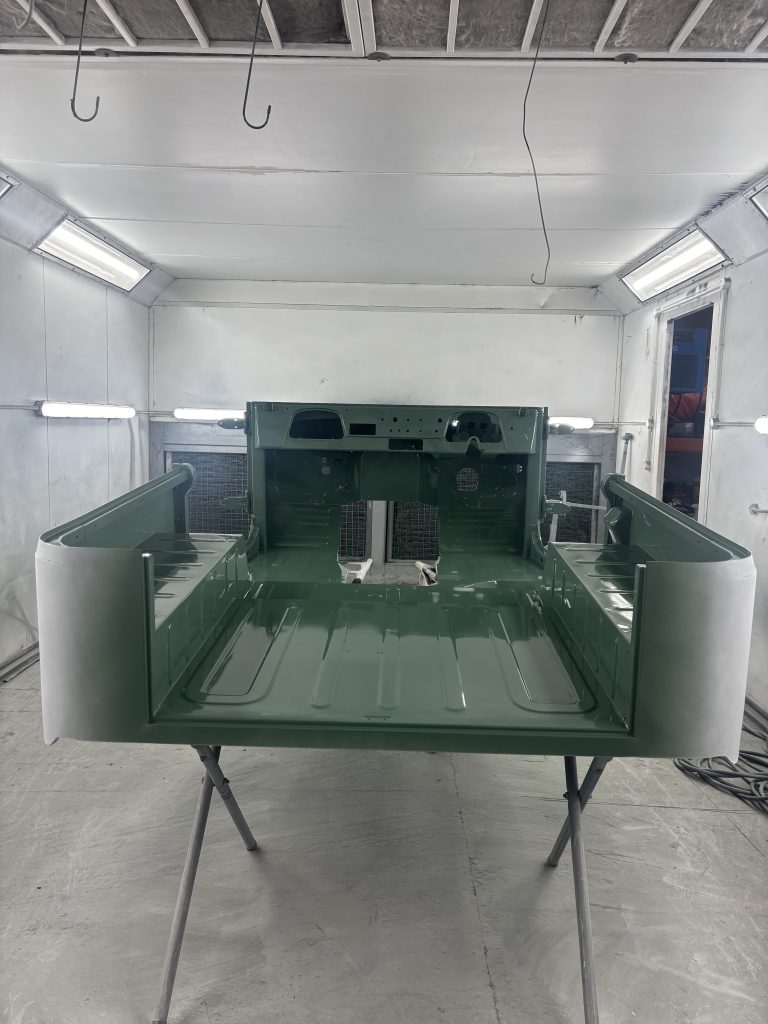
We filler-skimmed and blocked over the rear panel, then applied primer. We used a guide coat over the primer, followed by a sealer before applying colour. Using this many layers provides the best protection possible against moisture seeping in and damaging the metalwork.
We used a white bottom coat to make sure the final colour was as bright and fresh as possible, then covered the car in khaki green to tie it back to traditional Land Cruiser colours.