Getting Your Paint Jobs Right
The very best classic cars undeniably all have one thing in common: their paint finish. Achieving that much sought after mirror finish is often just a case of ensuring that the correct process has been followed. In this article, we will layout the process of achieving a showroom level paint job on a classic car. We will layout step by step instructions for preparation, application and finish to help ensure that your beloved classic car is restored to its very best condition. Want a hand at any stage of the process? Get in touch and speak to a member of our team about your specific project.
Preparation

As with any kind of paintwork project, preparation is ultimately the key to achieving a high quality finish. The diligent preparation of the surface below the paint level ensures that you will create an ideal surface for the new primer to adhere to in order to complete your colour spraying. Excellent preparation will also help to ensure a blemish free finish once the final layer of lacquer is applied. While this is the stage that certainly requires the most focus (and, without doubt, patience) it is also the most necessary to ensure that showroom shine finish that the vast majority of classic car owners are looking for when taking on their paint project
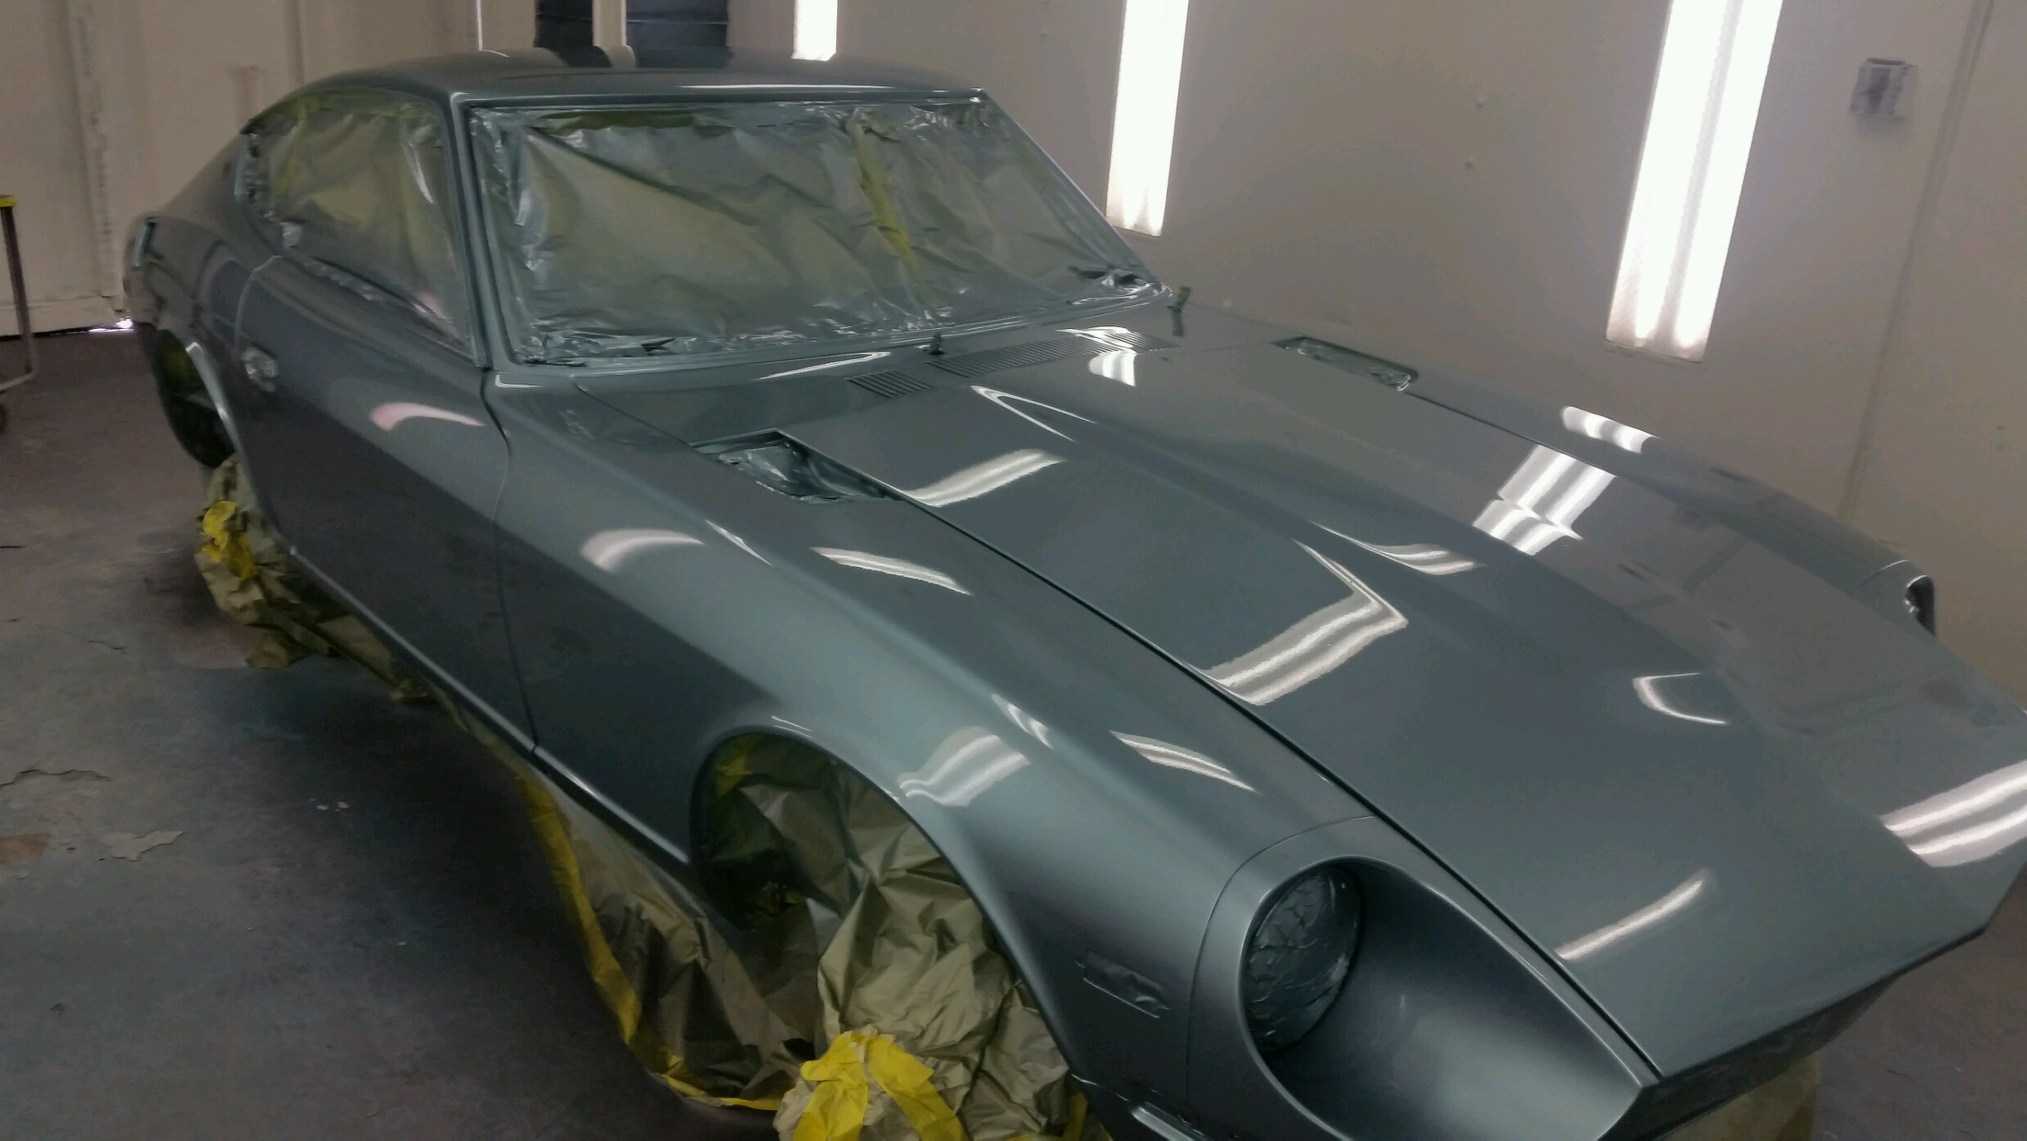
Sanding
First things first, the old paint needs to come off. The process of sanding is a refining process that ensures you gradually use higher and higher grades of grit in order to smooth out the earlier sanding. It is best advised to start with 1200 grit paper or sanding pads to quickly and efficiently remove the top layer of clearcoat and the original paint layers below. Due to the fact that modern paint and many old primers are incompatible, you will almost certainly need to return the panel to bare metal before any more work can be done. As well as your sanding equipment, you will also need a dust mask and goggles as this is a dirty job! And no one wants to be breathing in paint particles from many years ago.
Filling
The next stage of the process is to repair any damage that is on the panel. Depending upon the type of damage, this is likely to require some kind of filling and lots of patience! This stage can be handled by you, or you can hand your car over to our experienced master craftsmen so that they can get the panels to exactly the right condition to be painted.
If you need help with your panels, get in touch and speak to our team. While many panels can be repaired, some are not suitable. Our body shop servicing can help to provide a brand new, custom made panel to fit exactly what you need. This is often an extremely cost-effective way of refurbishing your vehicle and can save you thousands of pounds in the long run.
Prepping For Paint
In order to get some paint on the car, you will need to ensure that the surface has been finished to a high standard. You will then be able to prime the surface. You will need to ensure that you have a smooth, even finish that covers all of the panel’s bare metal. Once you have a smooth and even finish, the car is now ready for some colour!
If you are choosing to prime your own car then spray cans are available from all good automotive factors. You will need to take your time and give the car an even finish. Be prepared to use several layers in order to reach the ideal finish, especially if you have had to go back to the bare metal. Priming and painting are similar in that several light layers are preferable to thick layers. You do not want the paint to run, ruining your preparation work
Paint Application Process
Once your preparation is complete, you will need to choose your method of painting. This is likely to come down to using either rattle cans or a professional booth finish. There are, of course, pros and cons of both. Clearly a rattle can is going to be the cheapest way of painting your car, but is not likely to result in the type of finish that is likely to satisfy you.
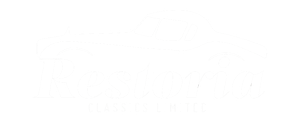
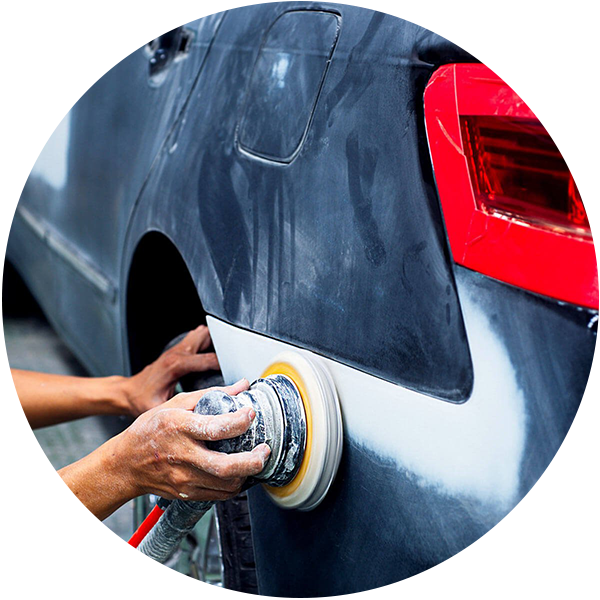
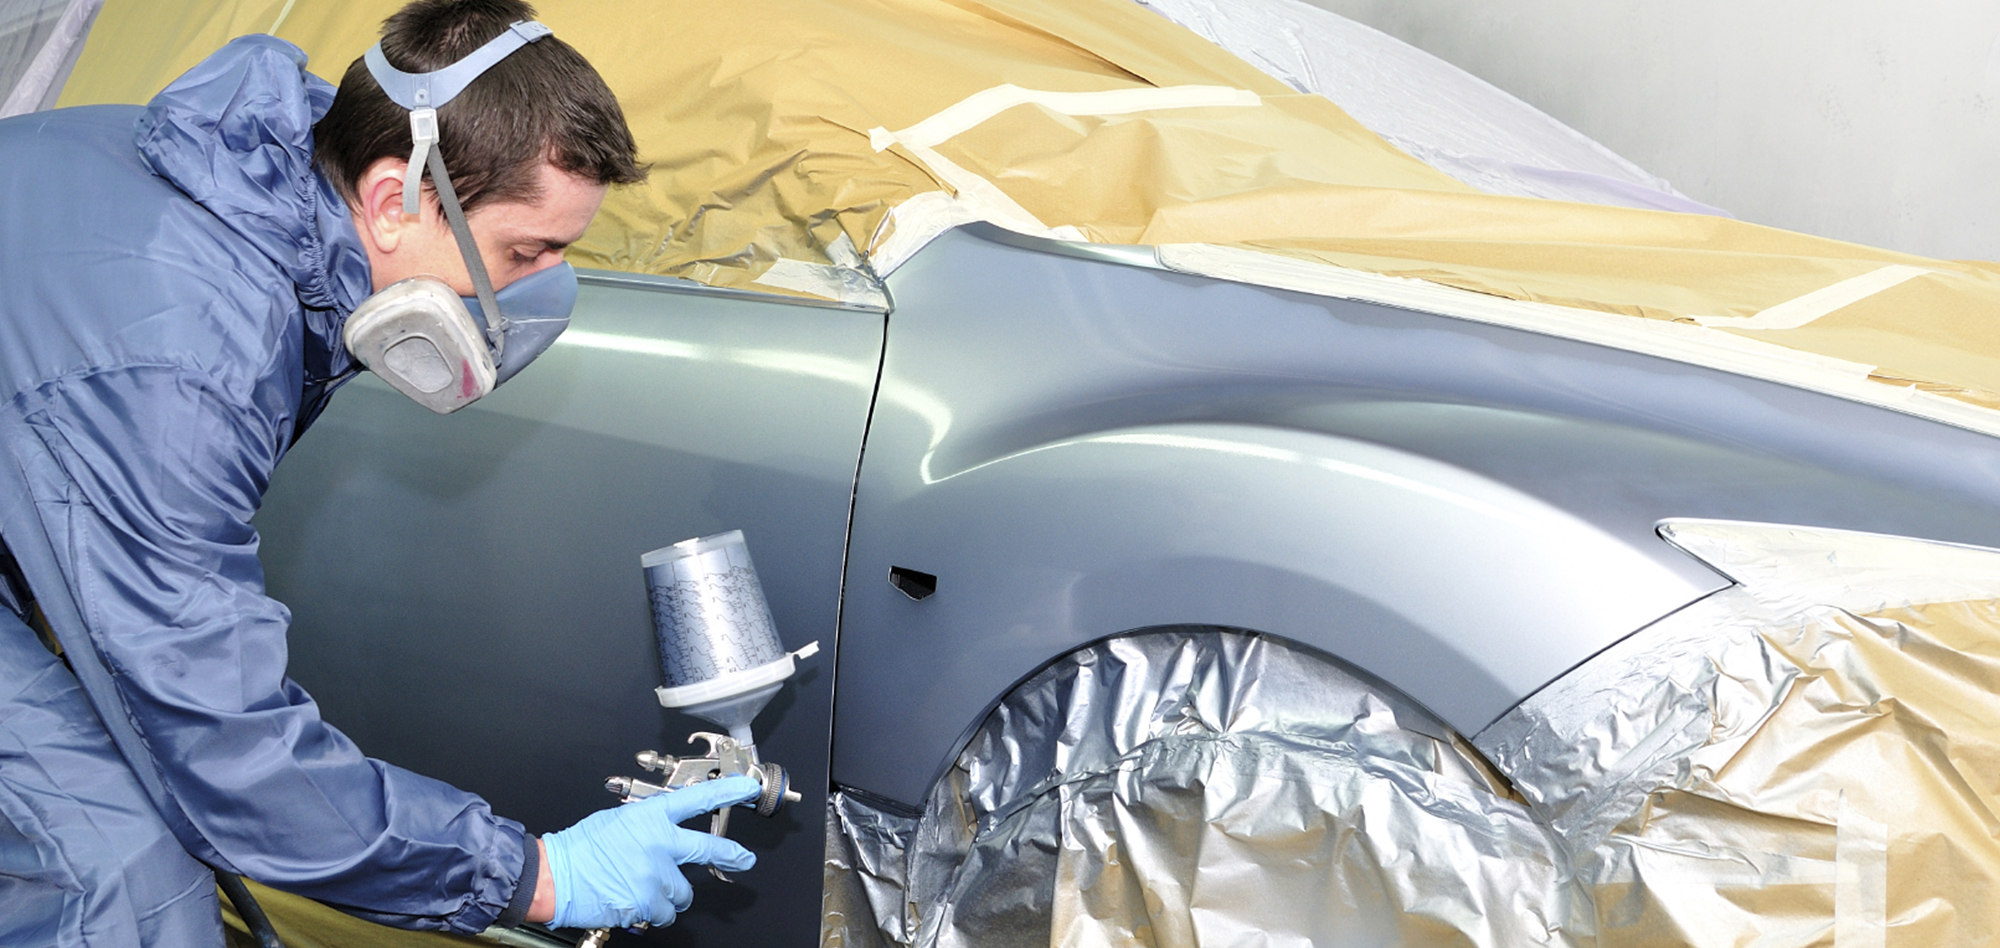
The best way, of course, is for the car to be painted professionally in a spray booth. This is where we can step in. We can take your pre-prepared car (or we can complete the preparation for you if you wish) and set to work. We will first remove all external items such as brightwork and lights to ensure that the whole shell of the car is painted without overspray. We will then mask off and cover all areas of the car that are not being painted.
Once the car is ready, we will take it into our paint shop and use an industry-leading process to ensure an accurate colour match and a smooth finish. We will apply as many layers as required of the new paint colour and leave the vehicle to dry in the protected and temperature-controlled environment of the booth. Once the paint layers are finished, we will then add the clear coat to ensure the mirror finish that befits a beautiful classic car
Finishing Touches
Once the clear coat layer has dried, we will then give the car a complete once over to ensure that our demanding technicians are happy with the paint results. We will then carefully put the car back together and prepare it to be returned to you. As well as completing the job, we can also collect and deliver your vehicle as required, saving you hassle and fuss. Get in touch and speak to a member of our team about your specific project